
Tutorial: How to install Grav CMS on Ubuntu 18.04
Grav is a CMS like Wordpress and Drupal. It has some advantages over those, though. For example, it doesn't need a database like mysql to work properly.
Here's a tutorial with the steps necessary to install on a fresh Ubuntu 18.04 server.
Step 1: Pre-requisites
Grav requires a web server (we'll use Apache) and PHP, as well as a few extra modules for each.
Login to your Ubuntu 18.04 server using ssh, or terminal. Then since we'll be installing stuff as root, use this command to start a root shell.
sudo -sBe careful, because when you're running a root shell, you could accidentally remove important stuff or mess up your system. So it's a good idea to check commands over before running them, and copy-and-paste is always recommended.
Now that you're root, you can install Apache and PHP, as well as some PHP extensions that Grav will use:
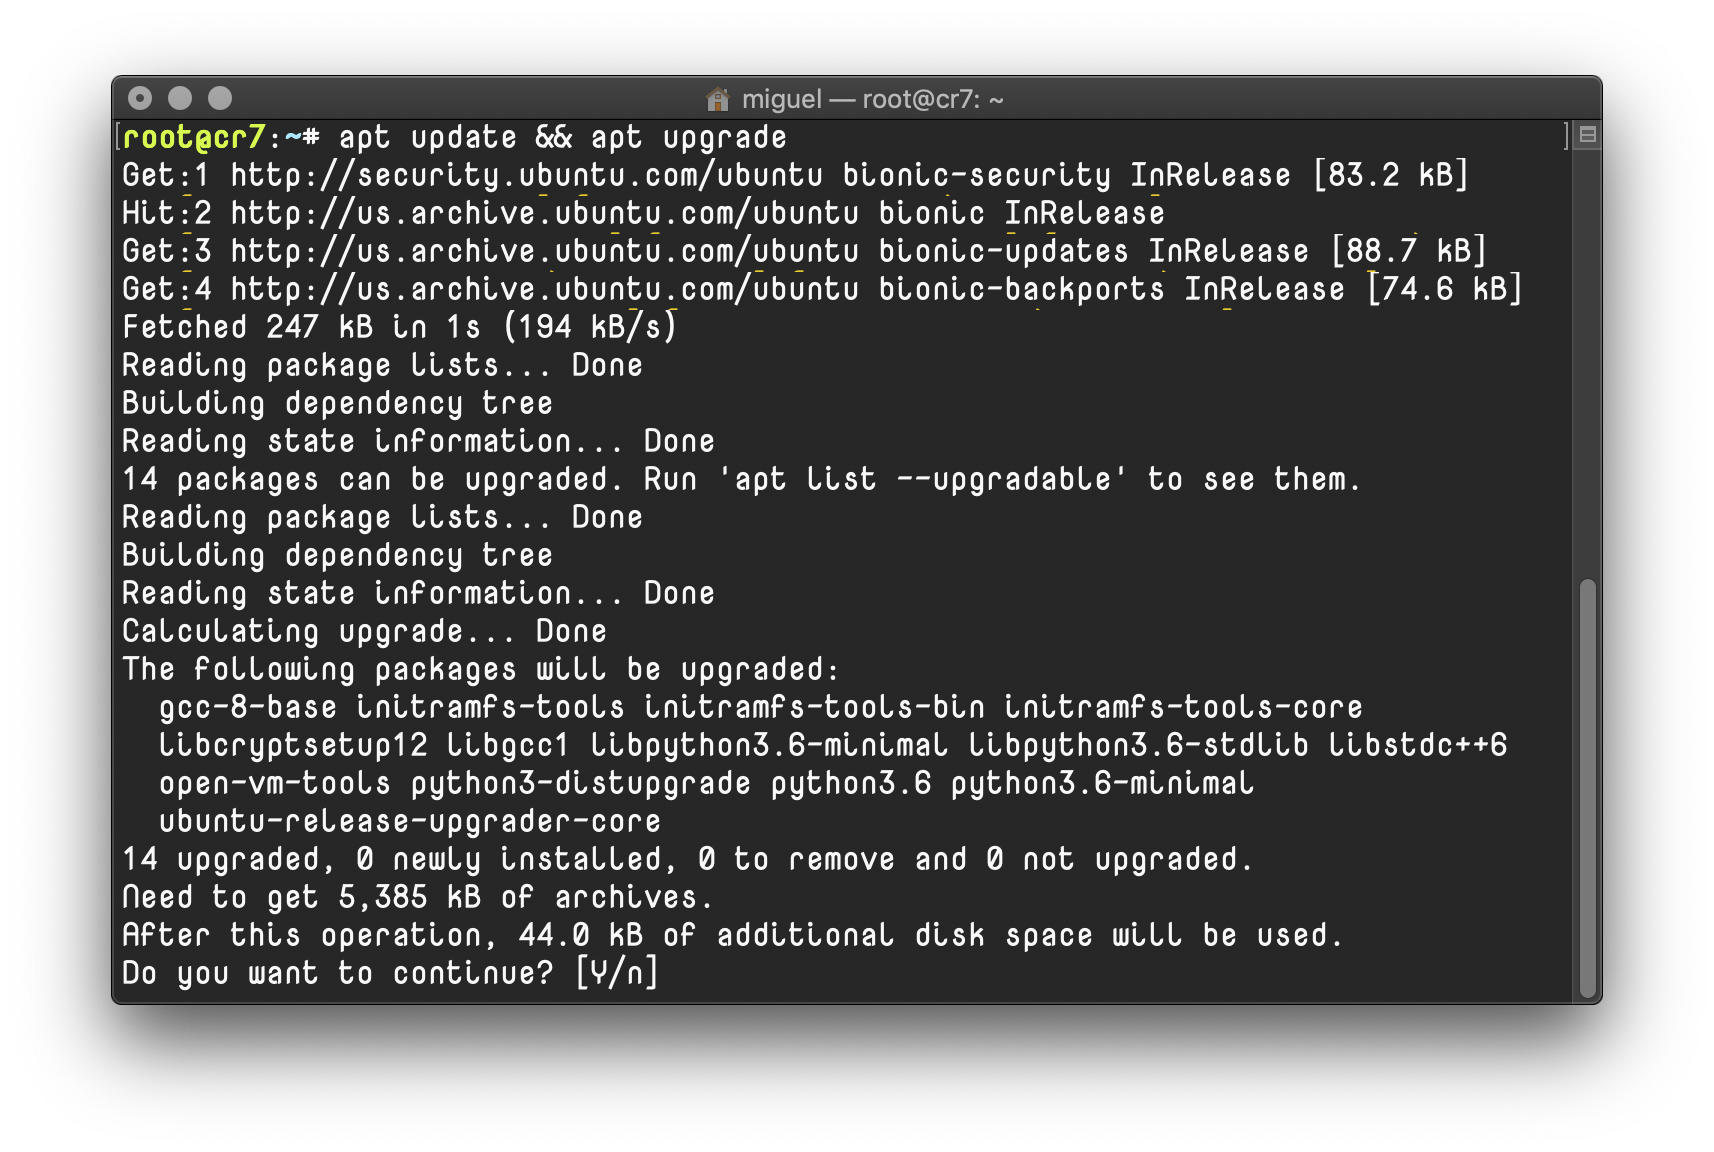
apt update && apt upgrade
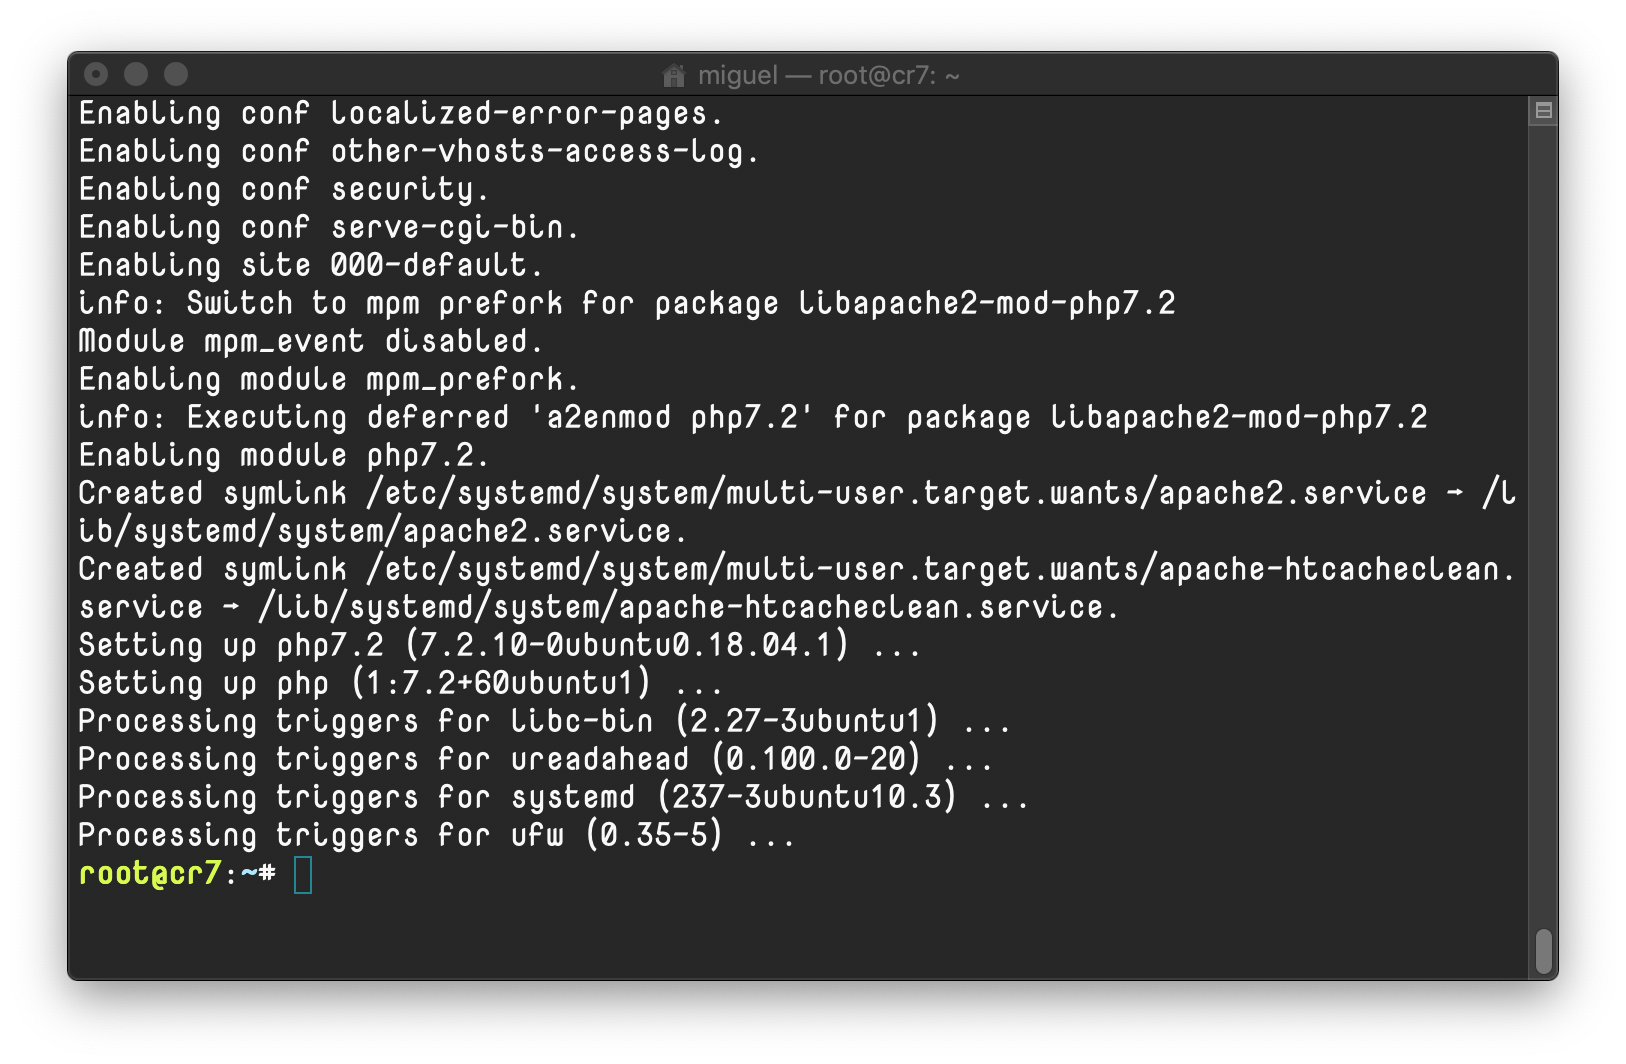
apt install apache2 php php-mbstring php-gd php-curl php-xml php-zip
Great... It should look something like this:
Once it's installed, you'll be able to load up the default Apache page on your webserver by using a web browser. It should look something like this when you go to your server's address:
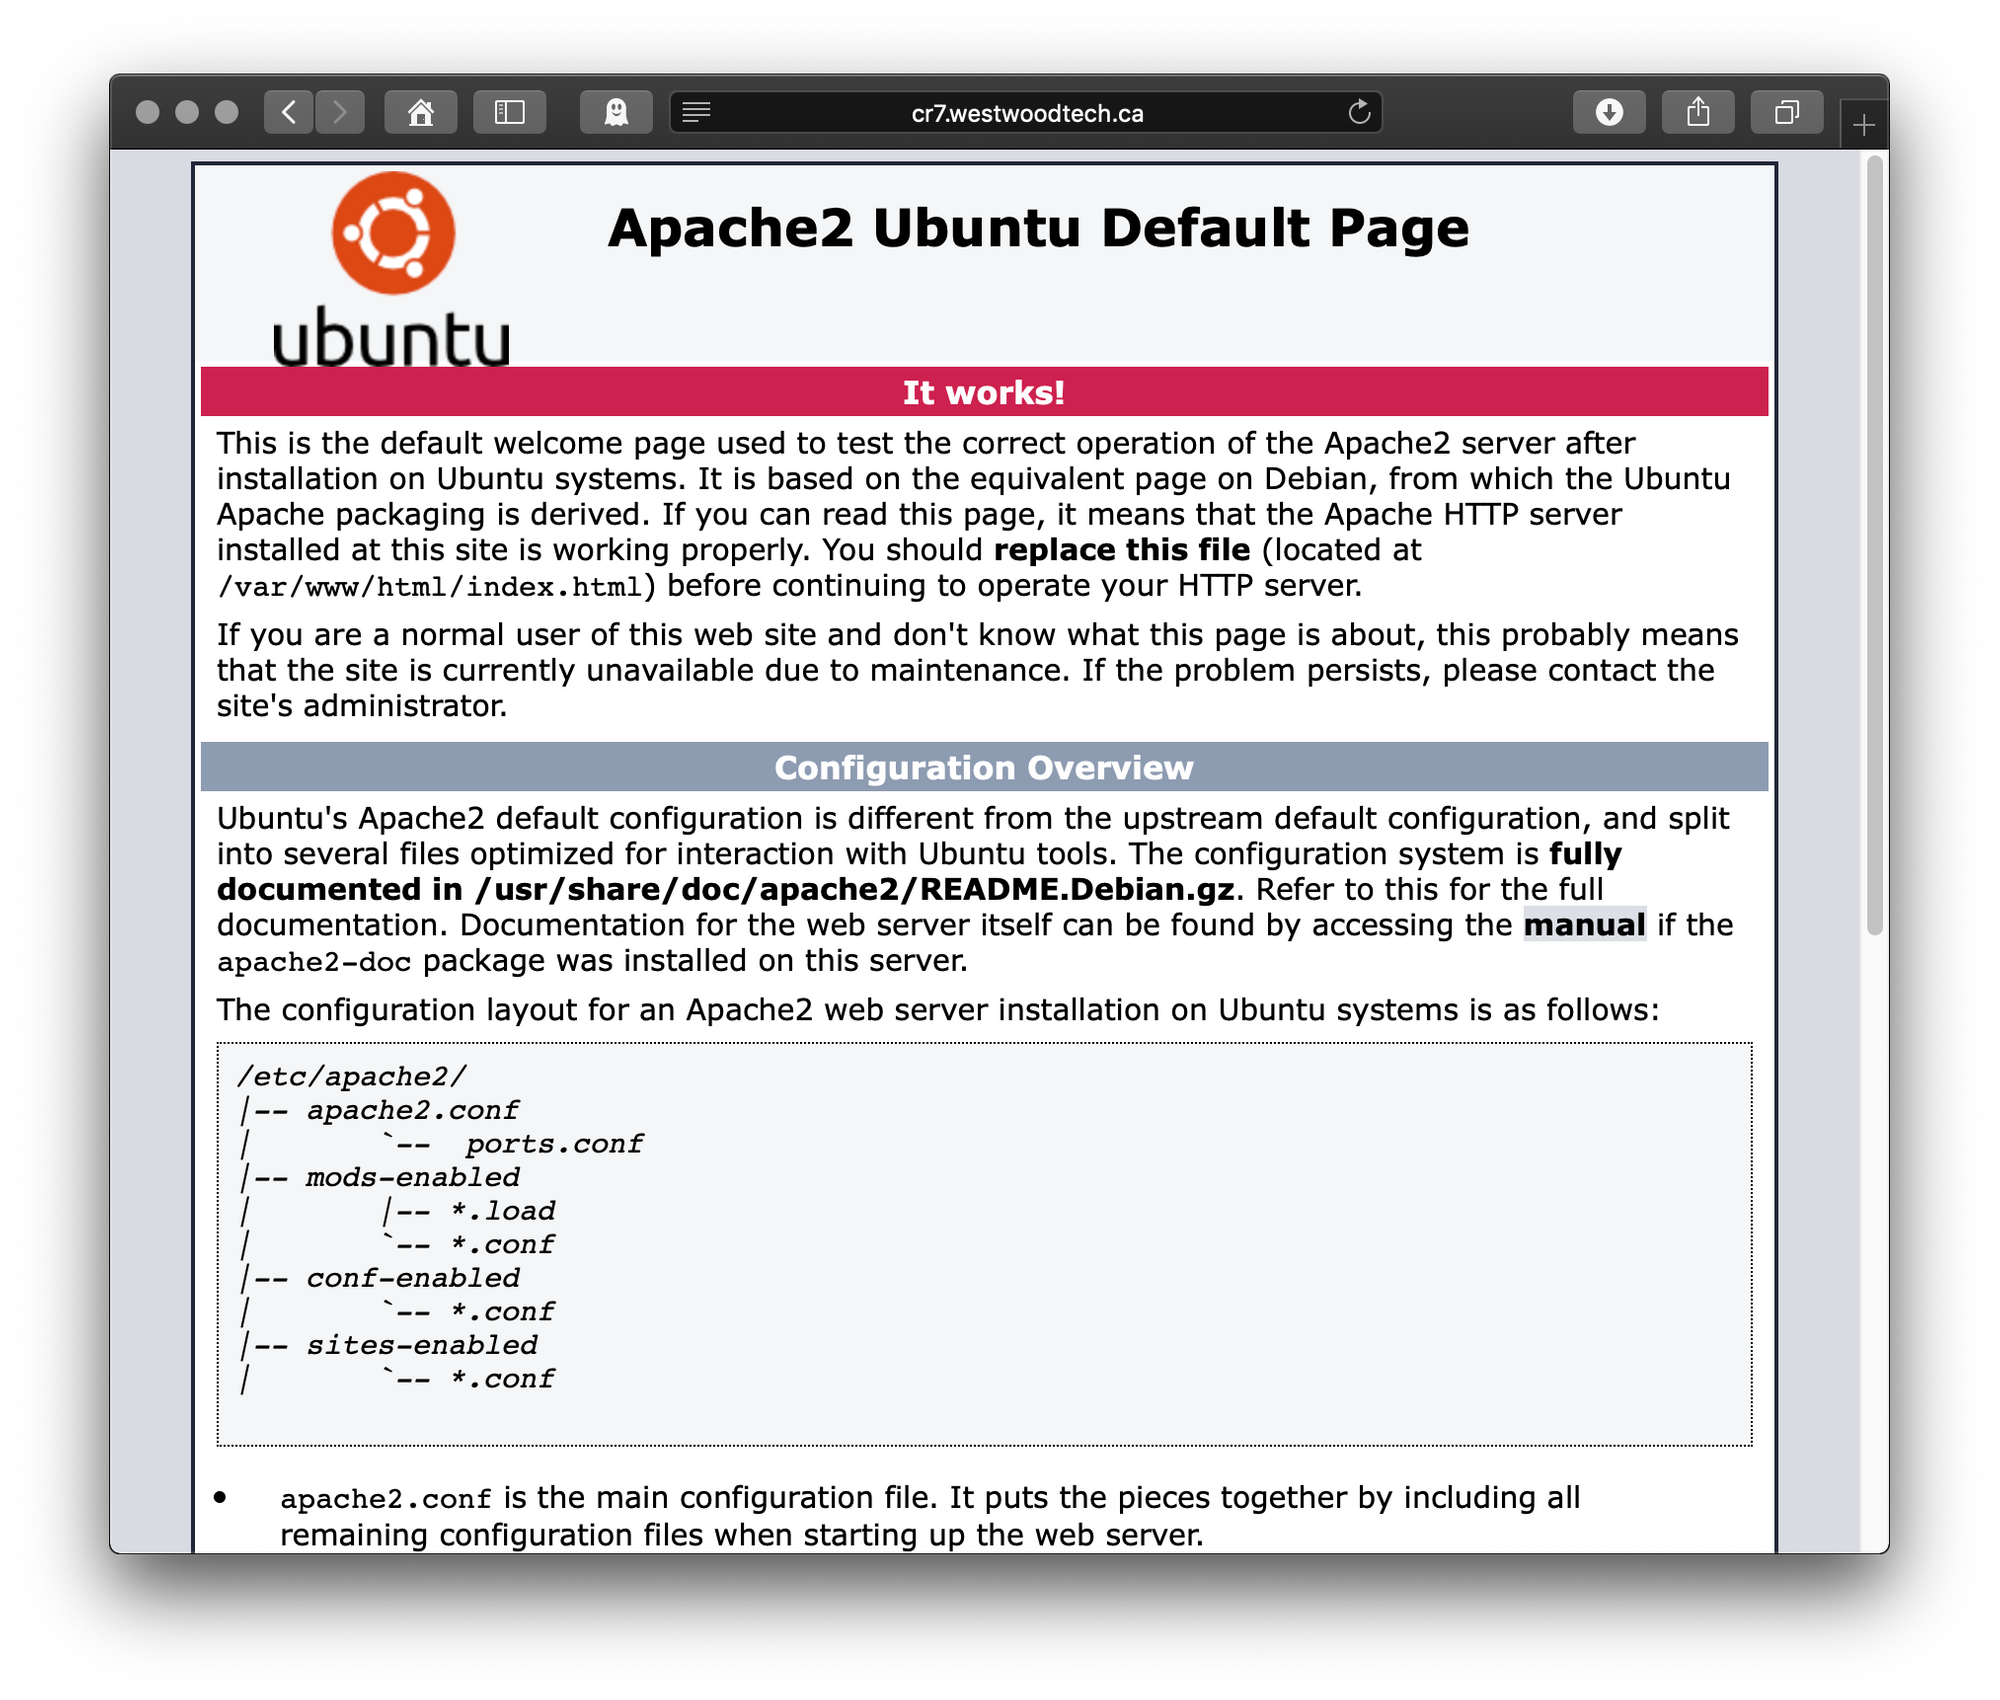
If you get to this point, congratulations. You have a web server running!
Step 2: Install Grav
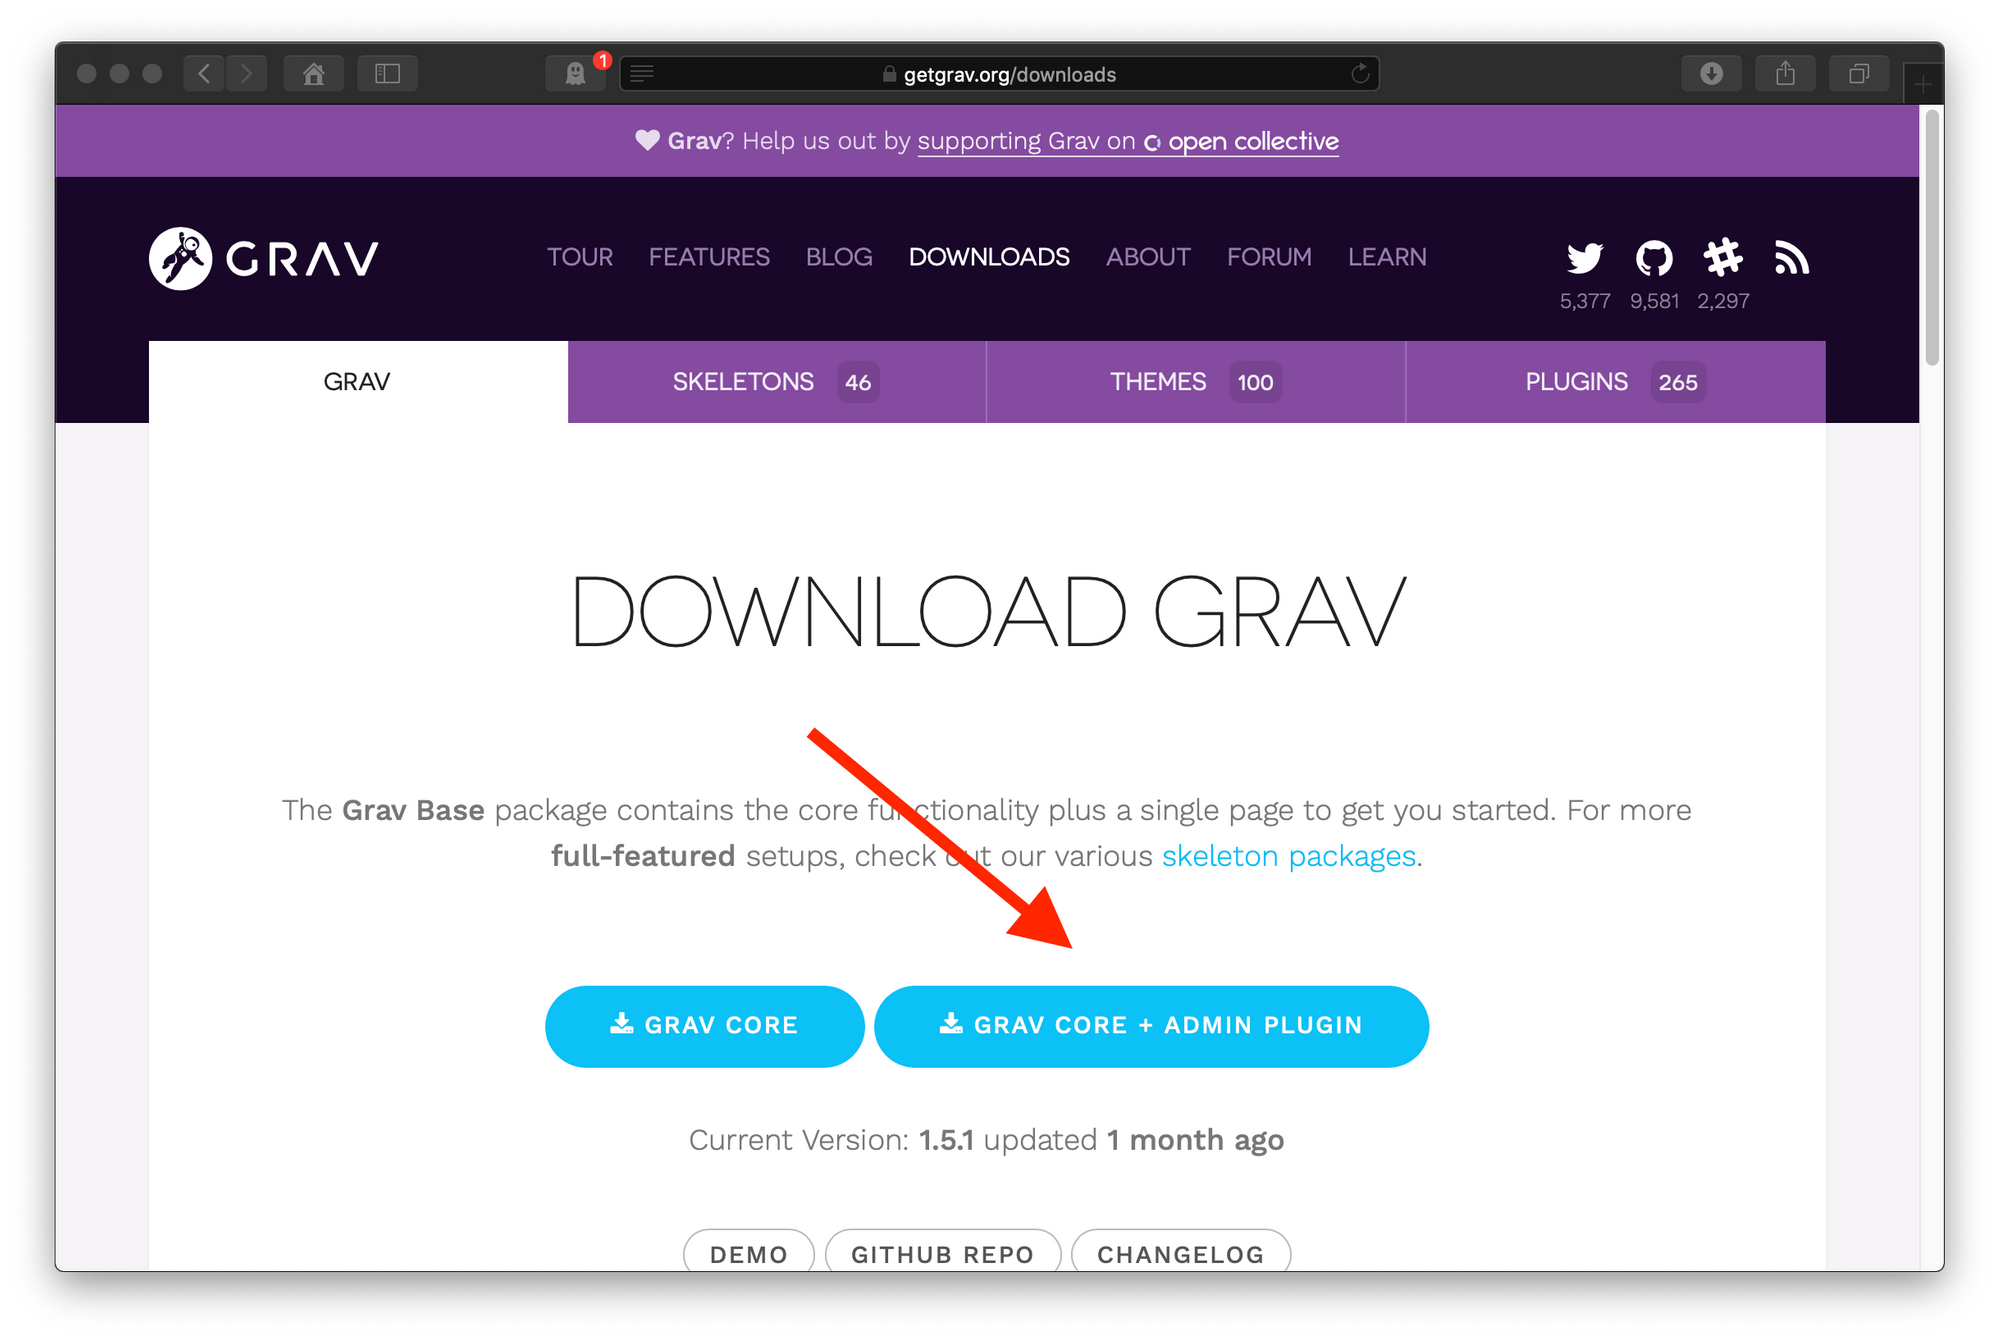
For this next step, you'll have to go to the Grav site and find the URL of the latest version. Look for downloads, and copy-and-paste the URL.
Now you can download that to the webroot of your server, which should be at /var/www/html/
The second line below will grab the latest version (which you can copy in paste in place of the getgrav URL, and save it as "grav.zip".
cd /var/www/html/
wget -O grav.zip https://getgrav.org/download/core/grav-admin/1.5.1
And the result should be something like this:
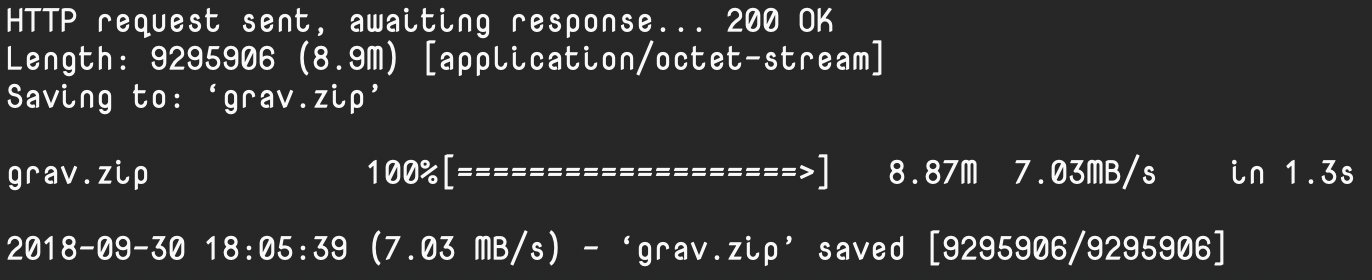
And you should have a zip file named "grav.zip" in the current directory. We will unzip it. Of course, we may have to install unzip first :-)
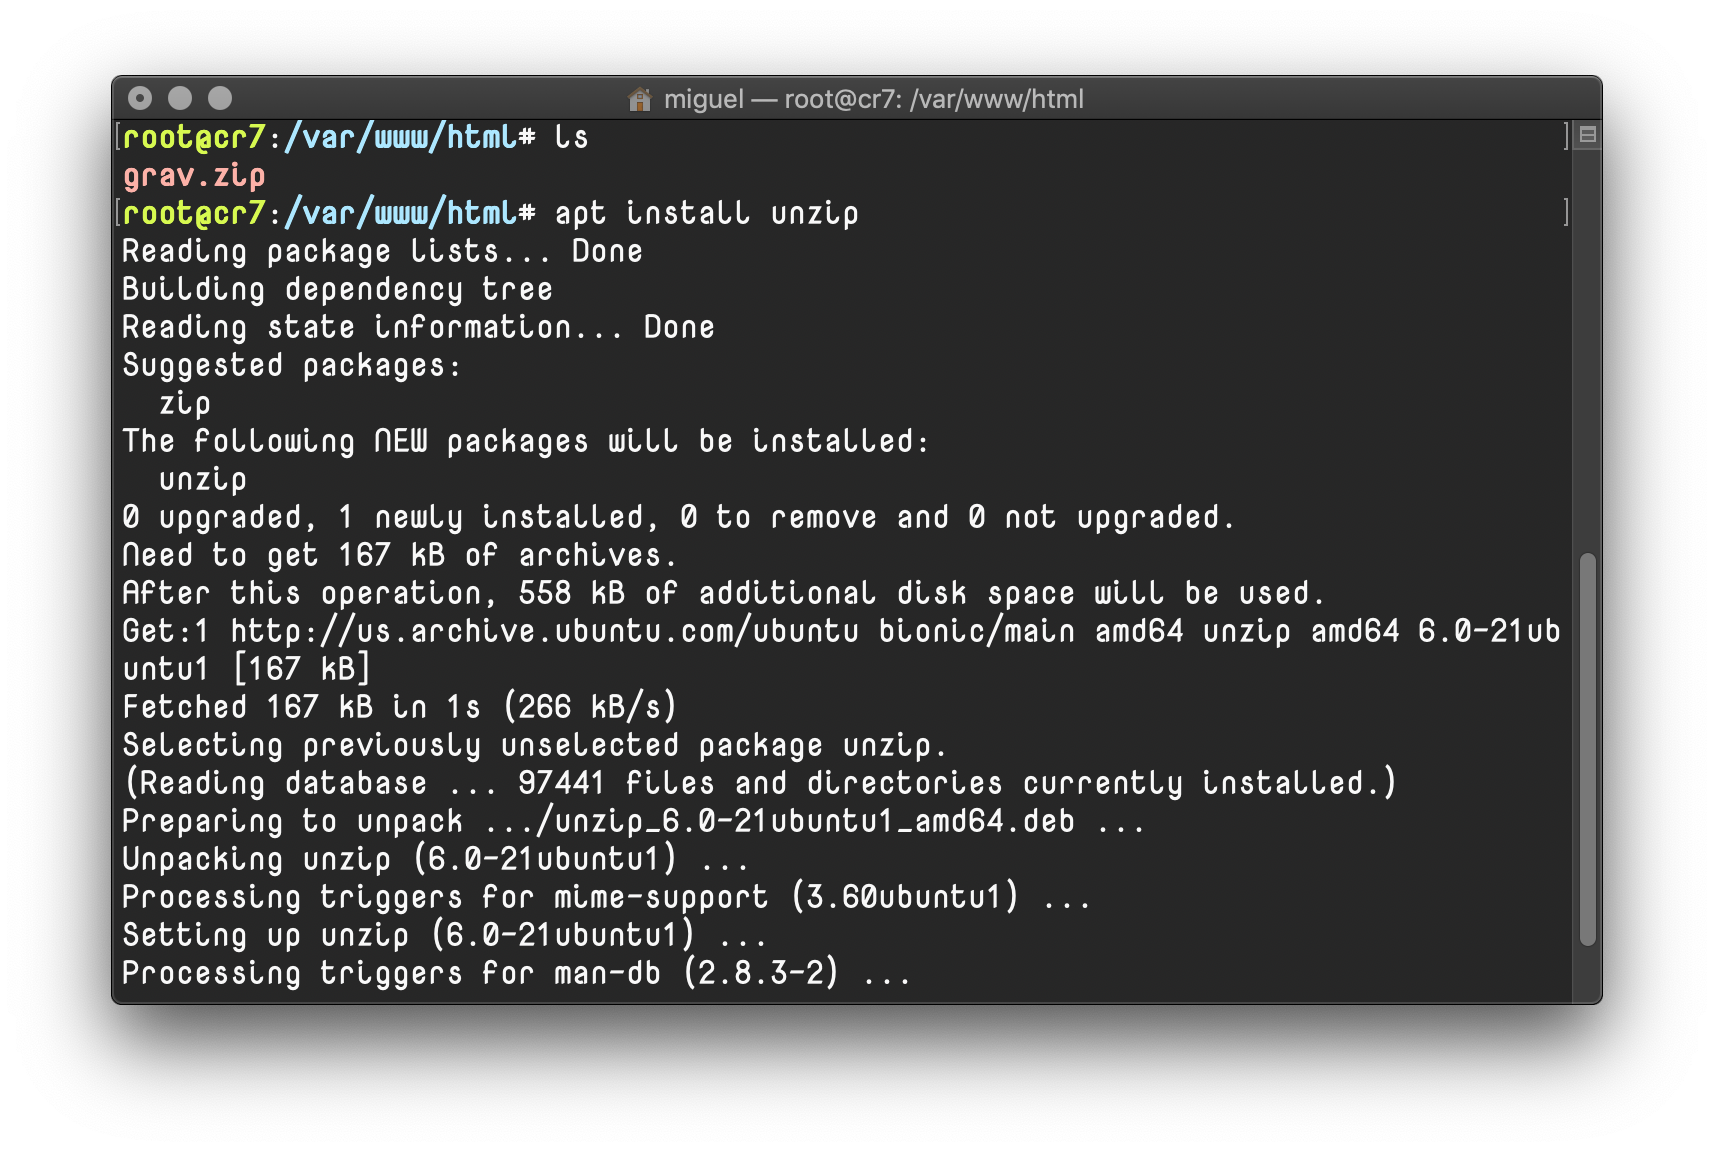
So go ahead and unzip grav.zip. Then we can move all the files inside the grav-admin folder to the root of the webserver. There's a hidden file called ".htaccess" in the grav-admin directory. Don't forget to grab that one too. And then you can remove the zip file.
cd /var/www/html/
unzip grav.zip
mv grav-admin/* /var/www/html/
mv grav-admin/.htacess /var/www/html/
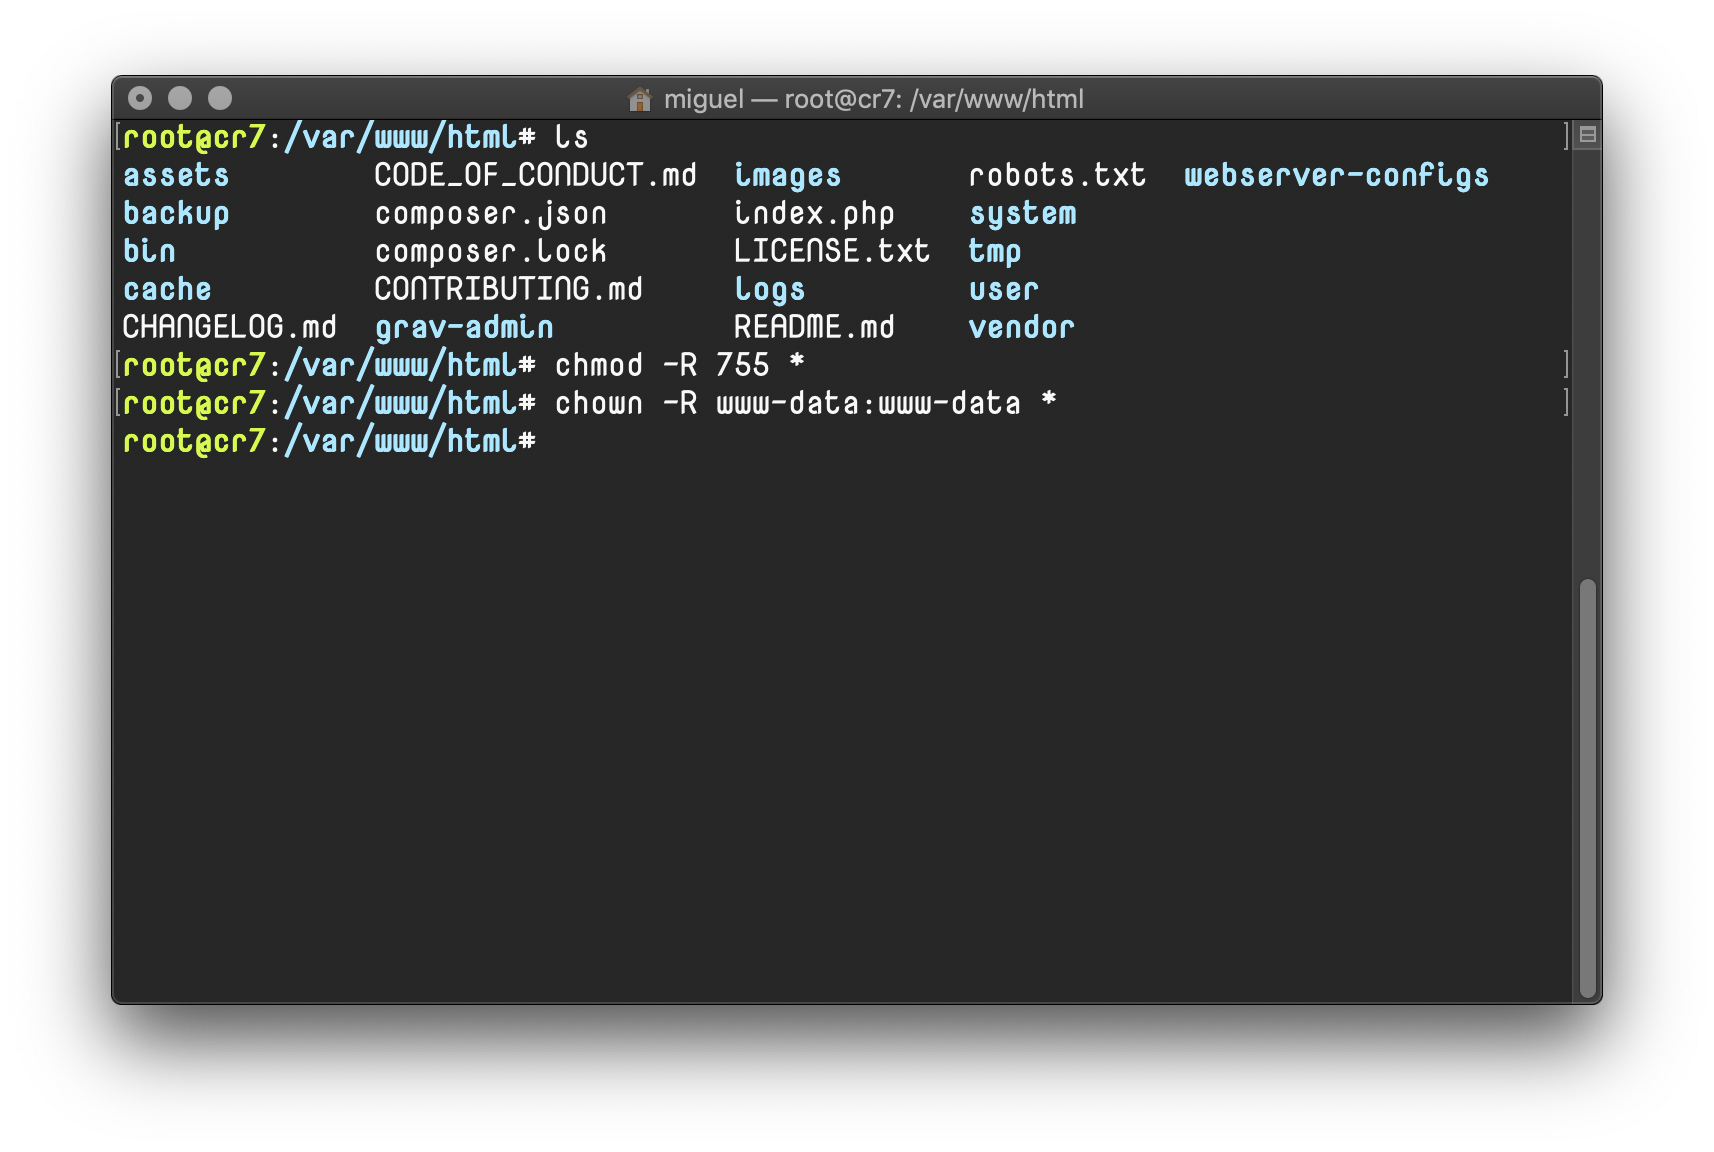
rm grav.zipAnd now we need to set the permissions for the files we just installed. Since you're logged in as root, we want to change them to the www-data user, which belongs to the Apache webserver.
chmod -R 755 *
chown -R www-data:www-data *
It should look like this:
Just a couple more things to do...
First, we need to create a virtualhost for apache to recognize your site, and to set some module permissions.
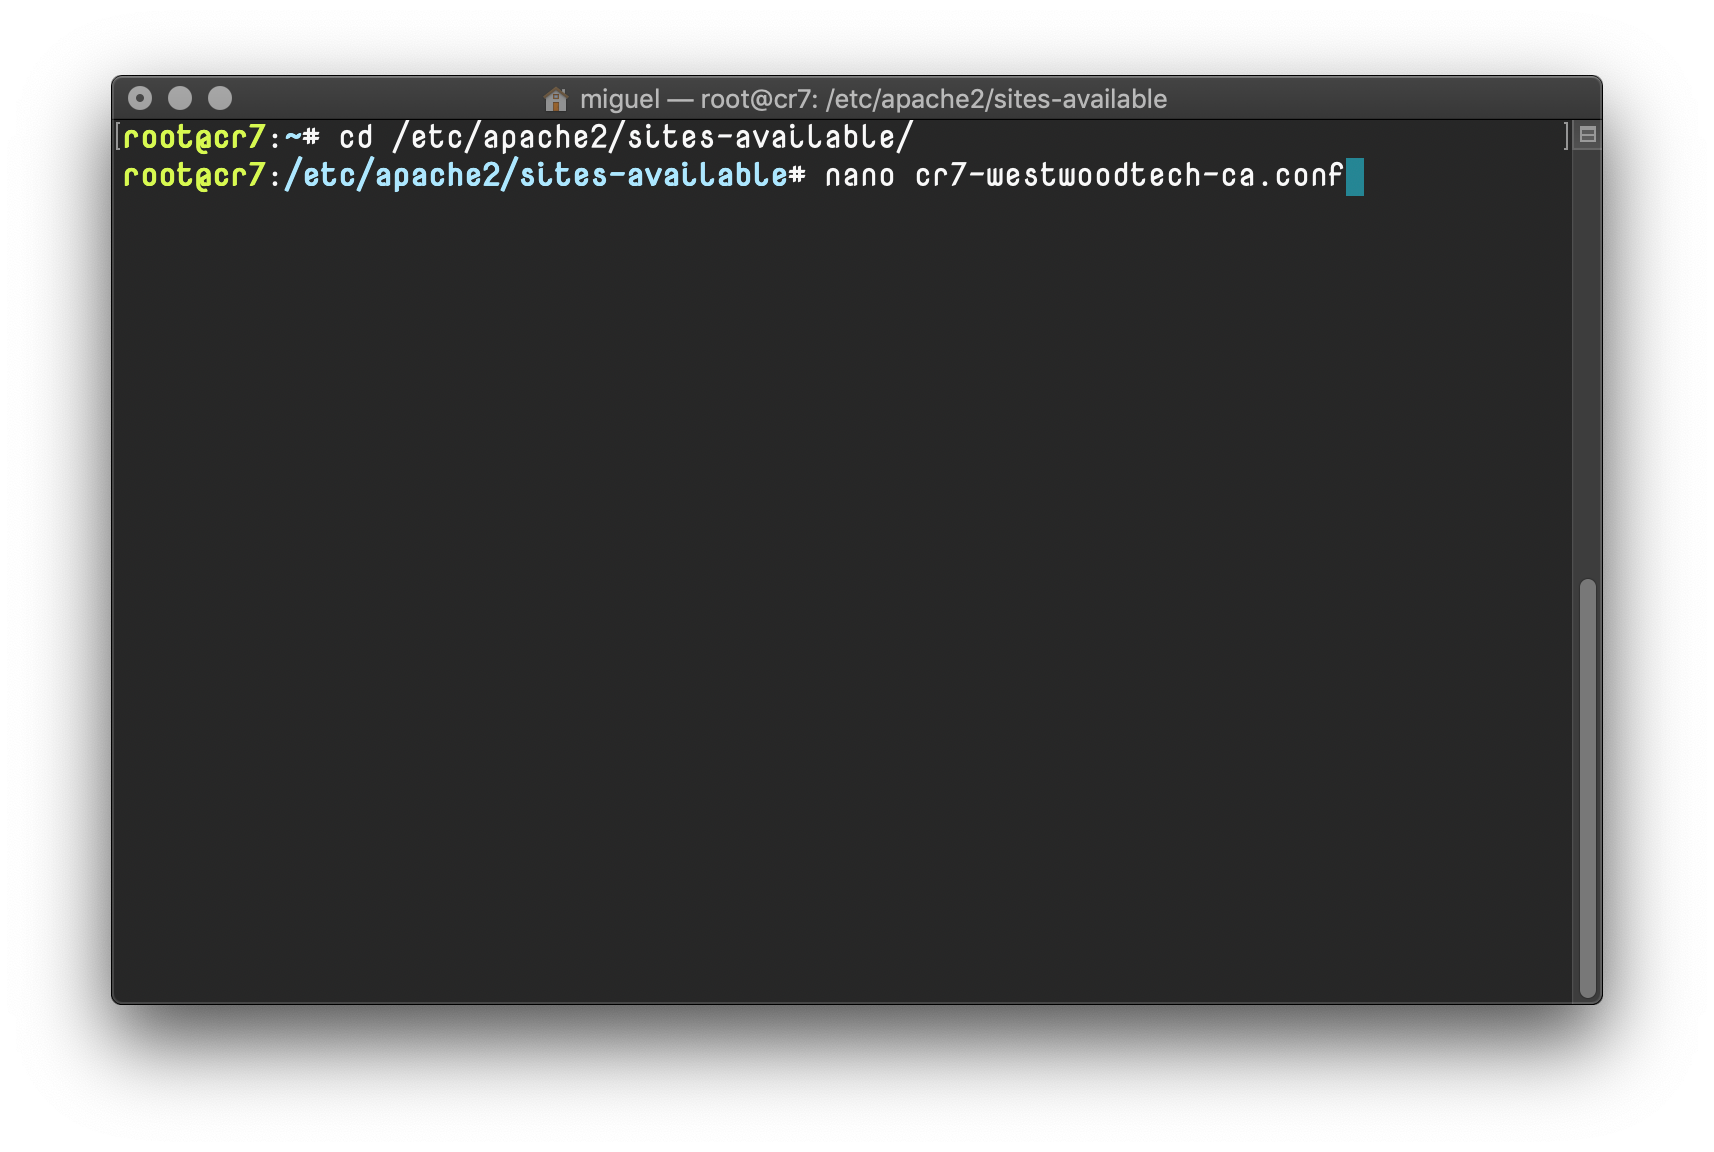
Create a new file called yoursitename.conf at /etc/apache2/sites-available, and put in the following, replacing my example site name (cr7.westwoodtech.ca) with the full address of your site:
cd /etc/apache2/sites-available
nano cr7-westwoodtech-ca.conf
And that file should have this in it (copy and paste, changing the example site name):
<VirtualHost *:80>
     DocumentRoot /var/www/html/
     ServerName cr7.westwoodtech.ca

     <Directory /var/www/html/>
          Options FollowSymlinks
          AllowOverride All
          Require all granted
     </Directory>
</VirtualHost>
Screenshots of this process:

Great, exit and save that file with Control-X.
Now we need to enable the site, and while we're at it, we can enable the rewrite module in Apache that Grav will need. Then restart Apache. Enter these commands:
a2ensite cr7-westwoodtech-ca.conf
a2enmod rewrite
systemctl restart apache2
If all goes well, you'll be able to load your grav site!
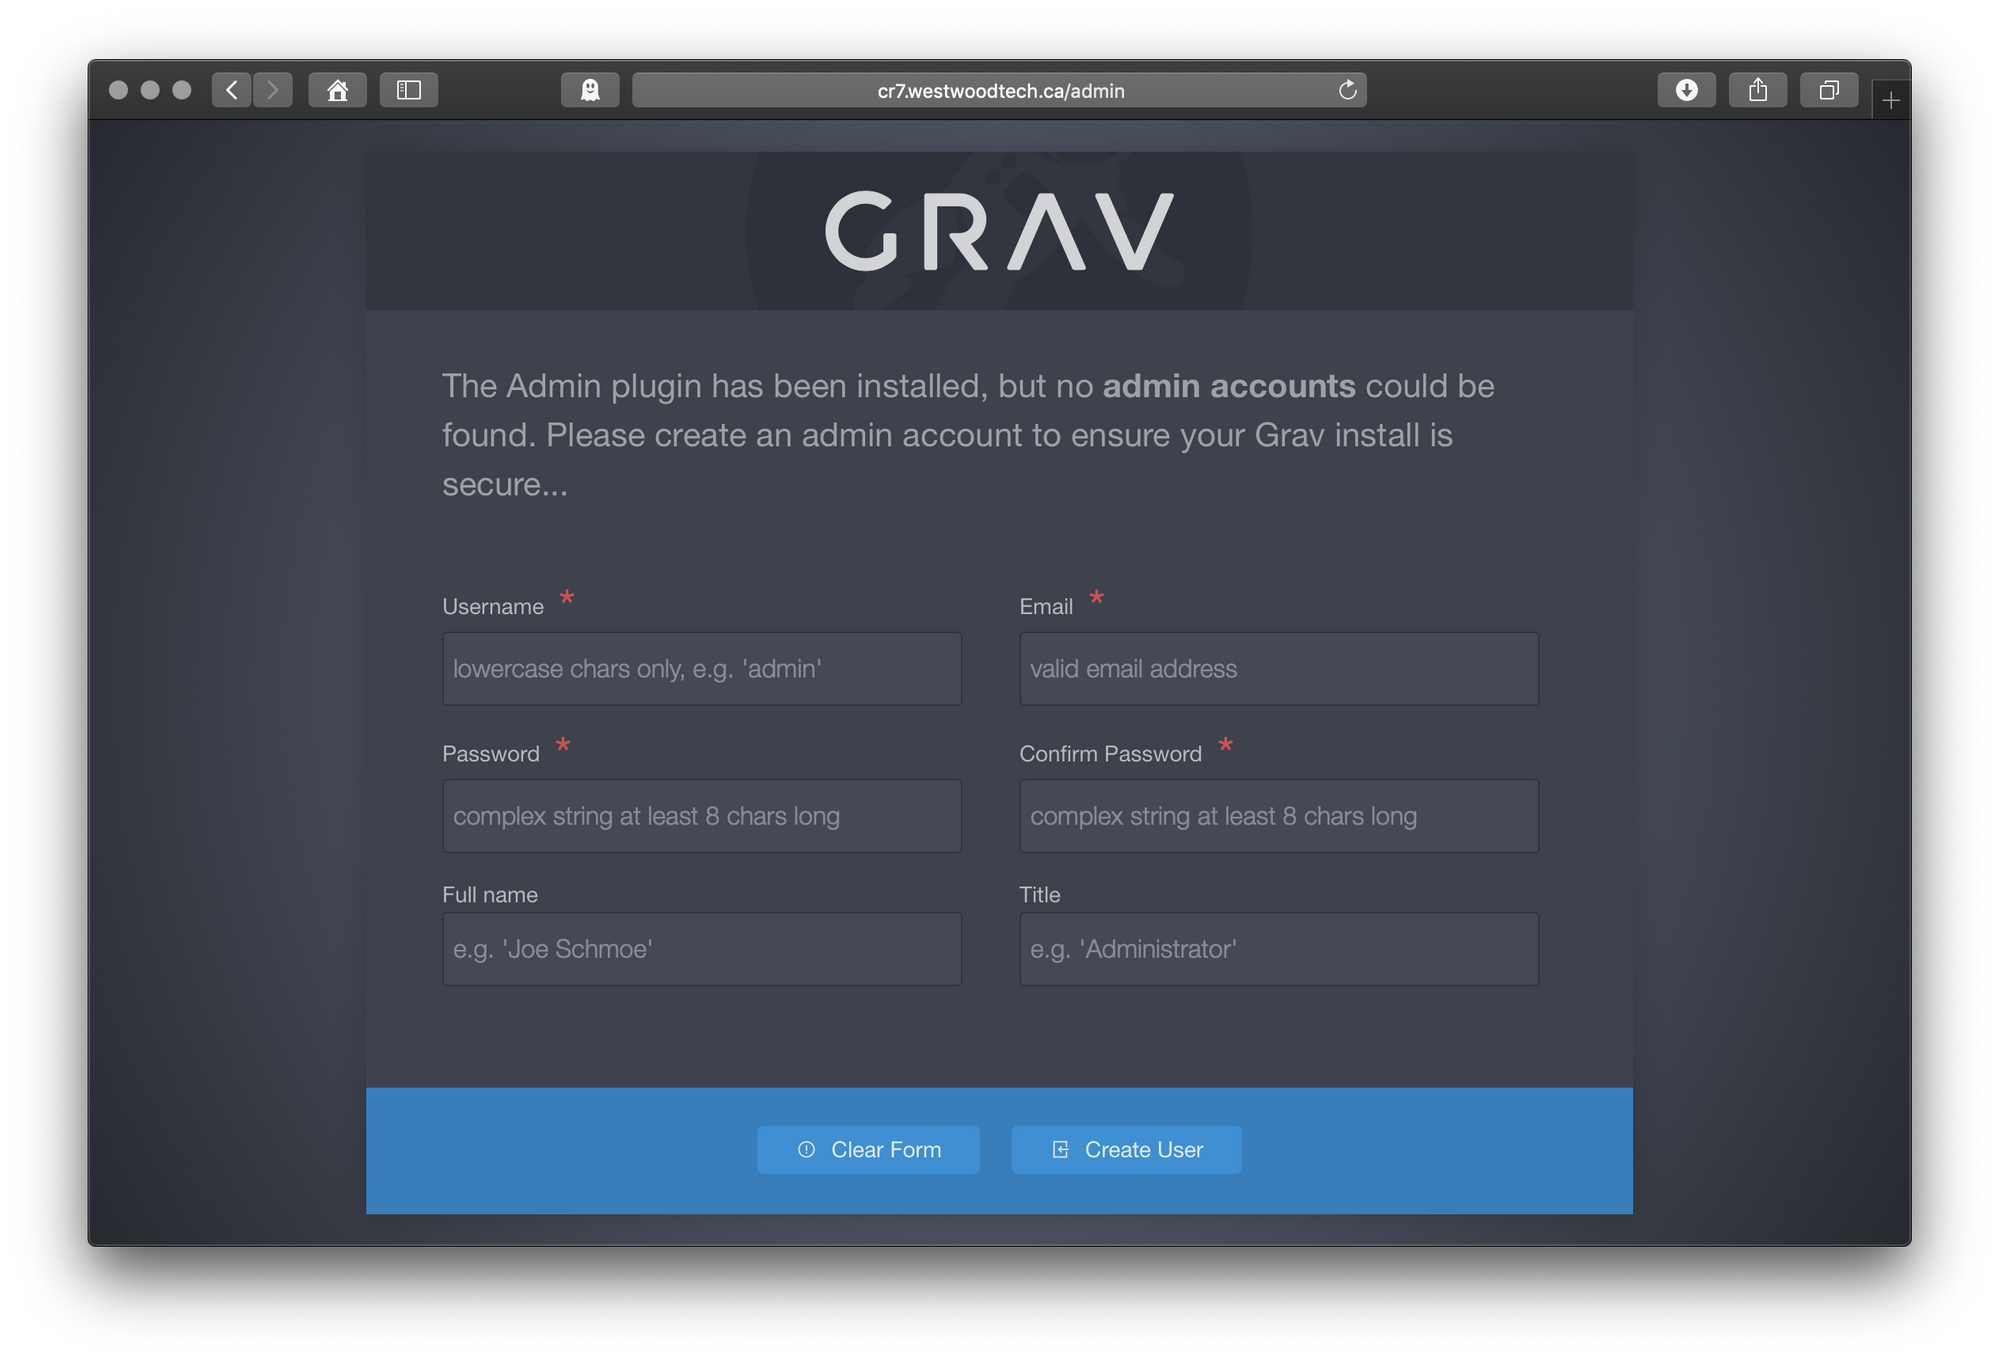
And from here, you can create your admin user and get started!
